Production Runs
Complete the following steps using the 02_Production Control screen recently configured:
- Perform a run production → end changeover → end production sequence below a few times, to familiarize yourself with how this screen operates:
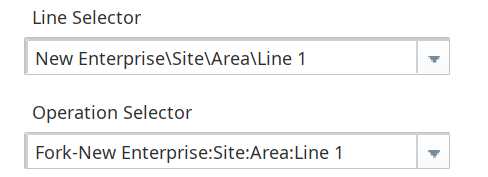
- Choose a Line from the MES Object Selector.
- Choose one of the Operations that you previously configured to run on that line.
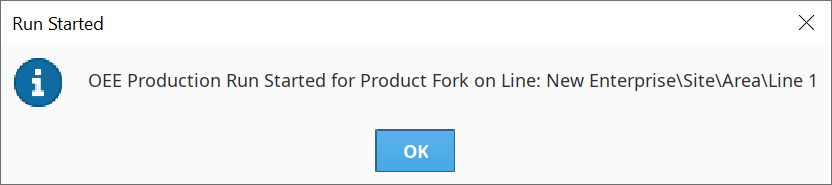
- Press the Run OEE Production button.
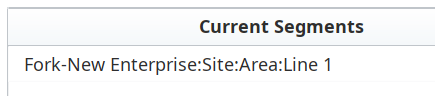
A dialog box will confirm that the operation began. - Wait a few seconds and press Load Current Operations, to confirm that the operation is running. You will see your operation displayed in the Table component. The "_CO" suffix indicates that the operation is currently in the changeover mode.
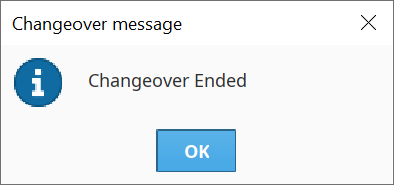
- Press End OEE Changeover to put the operation into Production mode.
A dialog box will confirm that the Changeover ended. - Confirm that the operation is now in Production (no "_CO" suffix).
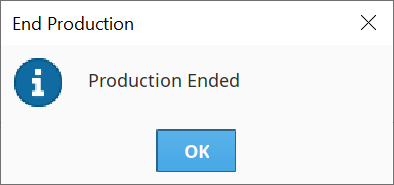
- Press End OEE Production to end the production run.
A dialog box will confirm that production ended.
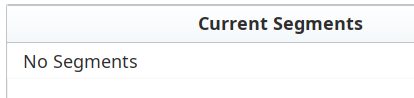
The Table will display "No Segments".
Start another production run, but this time allow the default changeover time to expire (default = 60 seconds). This will automatically start production and demonstrate the operation trigger functionality which is built in to OEE Downtime.

When the default changeover time expires, the operation will lose the "_CO" suffix. Press Load Current Operations button to refresh the table and confirm that the suffix is gone.
End the production run by pressing End OEE Production.
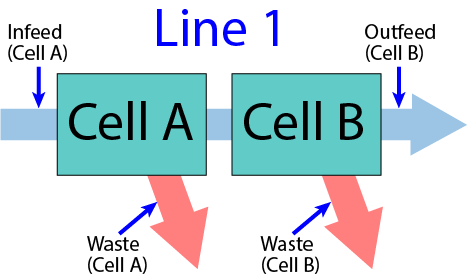
- Start another production run and end changeover. Open the Tag Browser to the Tags for Cell A and Cell B of the Line you are running your material on. Manually change the Memory Tag values as described below, to simulate material moving through the two Cells of your production line:
- Increment the Infeed counter for Cell A, then increment the Outfeed counter for Cell B (one unit successfully manufactured).
- Increment the Infeed counter for Cell A, then increment the Waste counter for either Cell A or Cell B (unit rejected), to simulate a rejected part at one or the other Cell.
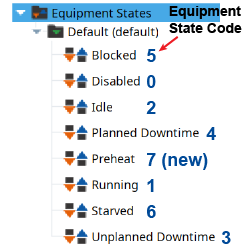
- Change the State tag for either Cell A or Cell B to another state (example: 2 for Idle or 6 for Starved, or use the new state you created earlier). Wait a few seconds then change it back to 1 again (Running).
- Repeat the above steps multiple times, to simulate your production line producing some successful parts, some rejected parts on both cells, and also cycling through several Equipment States besides 1 (Running) on the two Cells.
- End production. You should now have several successful units, several reject units and several states that the Cells went through before production ended. The more activity you simulate, the more 'interesting' data you will have for examining and reporting on the next screen, so feel free to simulate additional production runs with the other Line and other materials.

Optional Counter Spinners
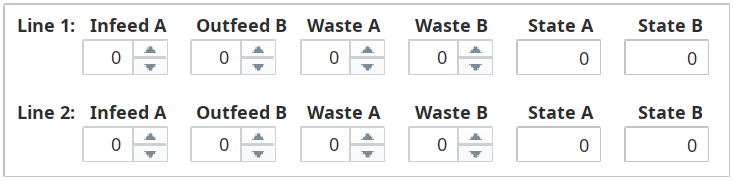
On the next page, you'll be simulating the Infeed, Outfeed and Waste counters incrementing, as well as State changes, as you perform simulated production runs. Binding the Memory Tags for these onto Ignition Spinner components and Numeric Text Field components makes it more convenient to simulate your runs. You can modify the Tags directly from the Tag Browser as well, if you prefer to skip this step.
- Drag the pre-configured Counter template from the Templates folder onto the upper-right area of the screen. You can use these spinners and fields for simulating your production runs easier.

Having the flexibility of starting and stopping production runs via Jython/Python scripts means that you can use nearly any signal or trigger to drive your production data tracking. Remember that the OEE Downtime module records values 24/7, but we want them in the context of specific production runs for more meaningful analysis.