Add States, Modes, Materials, Shifts
Add New Equipment State
omplete the following steps using the 3-tab 01_Configuration screen recently configured.
In the MES Equipment Manager:
- Add a new Equipment State to the Equipment State Class selected for Line 1:
- Select Line 1 and click State Class on the right side.
- Select Default and click New Equipment State.
- Name your new Equipment State.
- Set the Type as appropriate for your new Equipment State.
- Set the Code (the default will be the next available integer).
- Click Save.
- Click <back to return to the Production Model view.
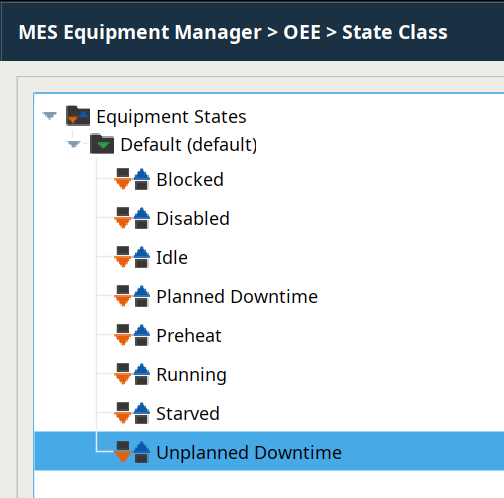
Example: Name = Preheat, Code = 7, Type = Planned Downtime
Add New Equipment Mode
In the MES Equipment Manager:
- Add a new Equipment Mode to the Equipment Mode Class selected for Line 1.
- Select Line 1 and click Mode Class.
- Select Default and click New Equipment Mode.
- Name your new Equipment Mode.
- Set the Type as appropriate for your new Equipment Mode.
- Set the Code (the default will be the next available integer).
- Set the checkboxes for Include in OEE and Include Production Counts.
- Click Save.
- Click <back to return to the Production Model view.
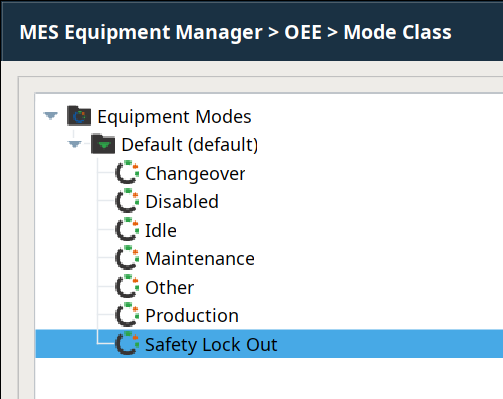
Example: Name = Safety Lock Out, Code = 6, Type = Other
Add New Materials
In the Material Manager:
- Add a new Material Class (under the Material Root).
Example (Name = Utensils):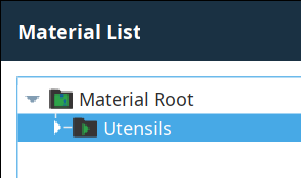
- Add several Material Definition items to the new Material Class.
Example (three created, called Fork, Knife and Spoon):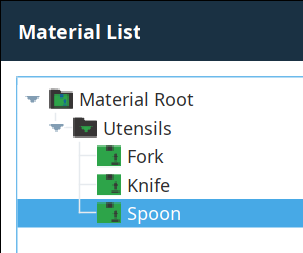
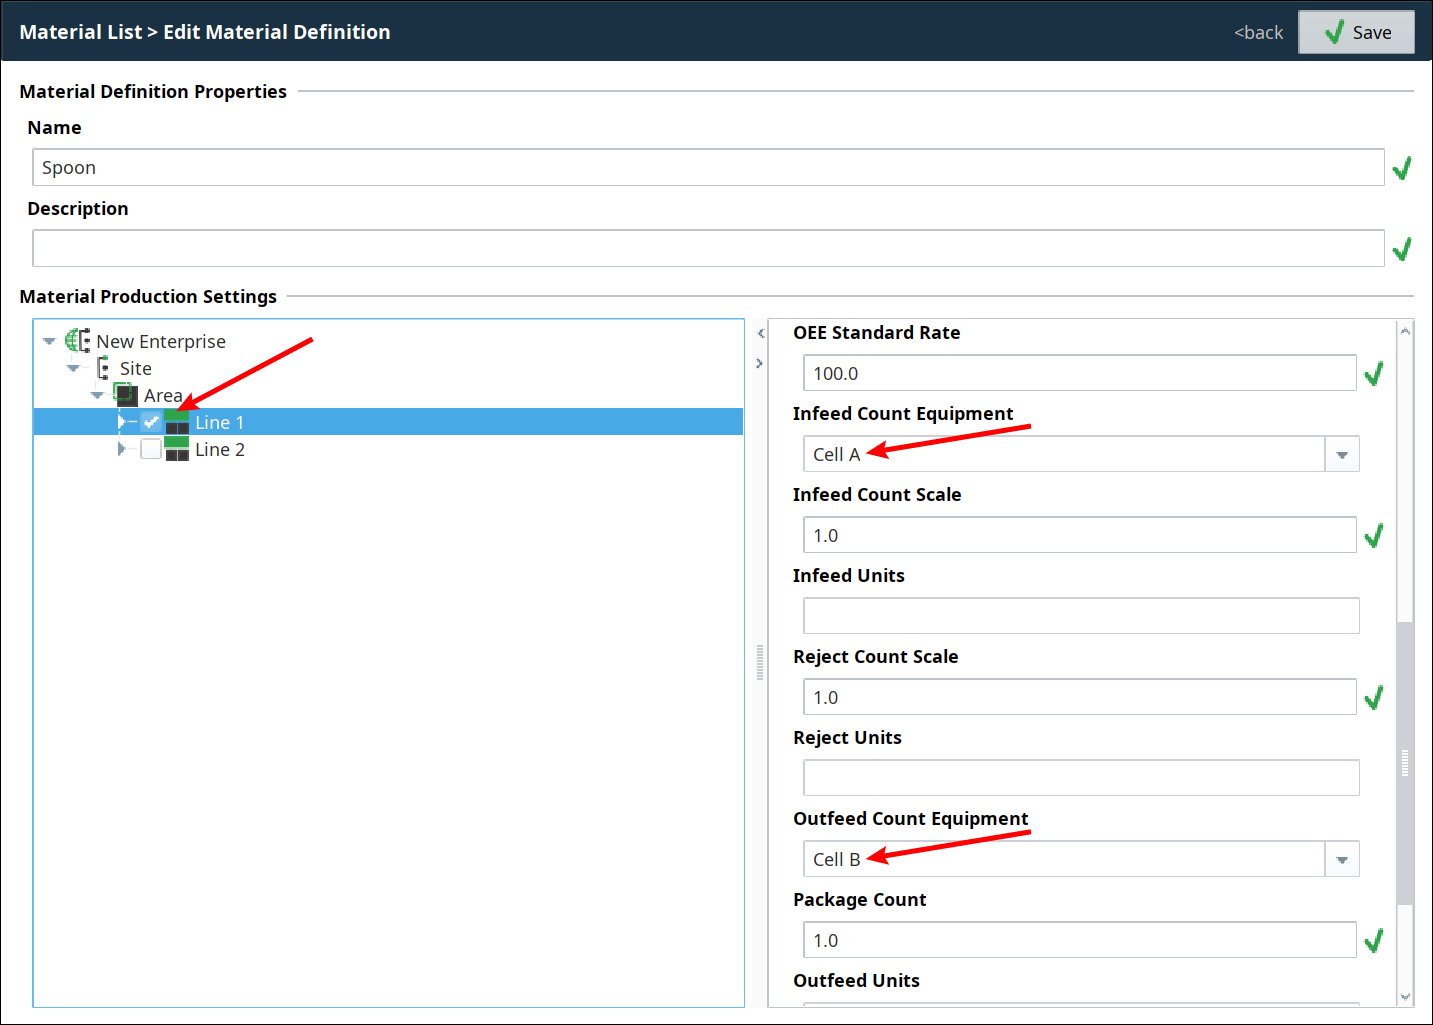
While creating each Material Definition, click to select Line 1, as shown below, then configure the MES counters as follows:- Enable the material to be run on Line 1 by setting the checkbox.
- Make sure that Auto End Changeover is enabled (default):

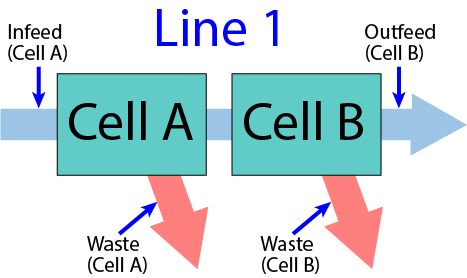
- Set the Infeed Count Equipment to Cell A (incoming material is counted as it enters the first Cell in the Line).
- Set the Outfeed Count Equipment to Cell B (outgoing material is counted as it leaves the last Cell in the Line).
- Click to select Line 2, then repeat steps (a) through (d) above to configure the material for running on Line 2.

|
After creating your new Material Definitions:
|
Create Shifts
In Shift Management:
- Click
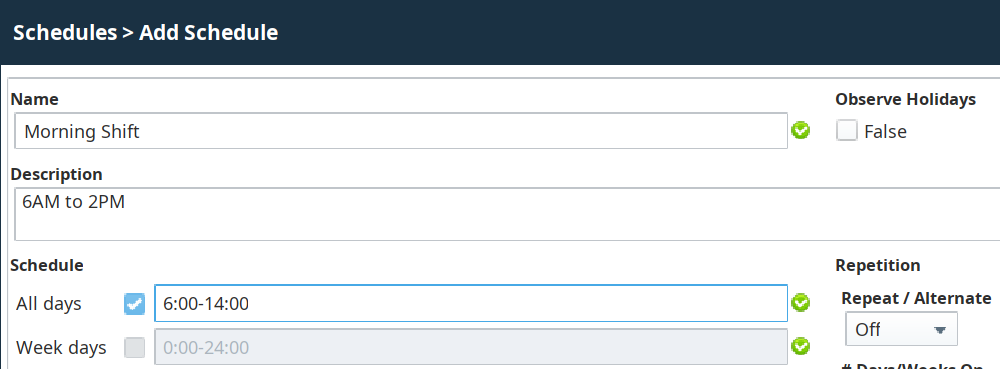
 and add a new Shift (Add New Schedule):
- Name the Shift.
- Add a Description (appears in the Schedules list)
- Select the shift's starting and ending times (24-hour clock).
- Click Save.
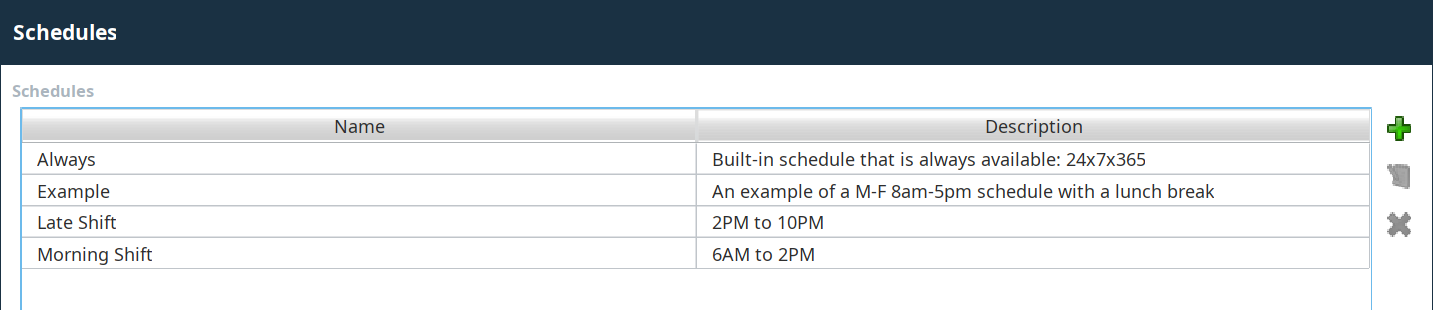
- Create at least one additional Shift.
Assign Shifts to Lines
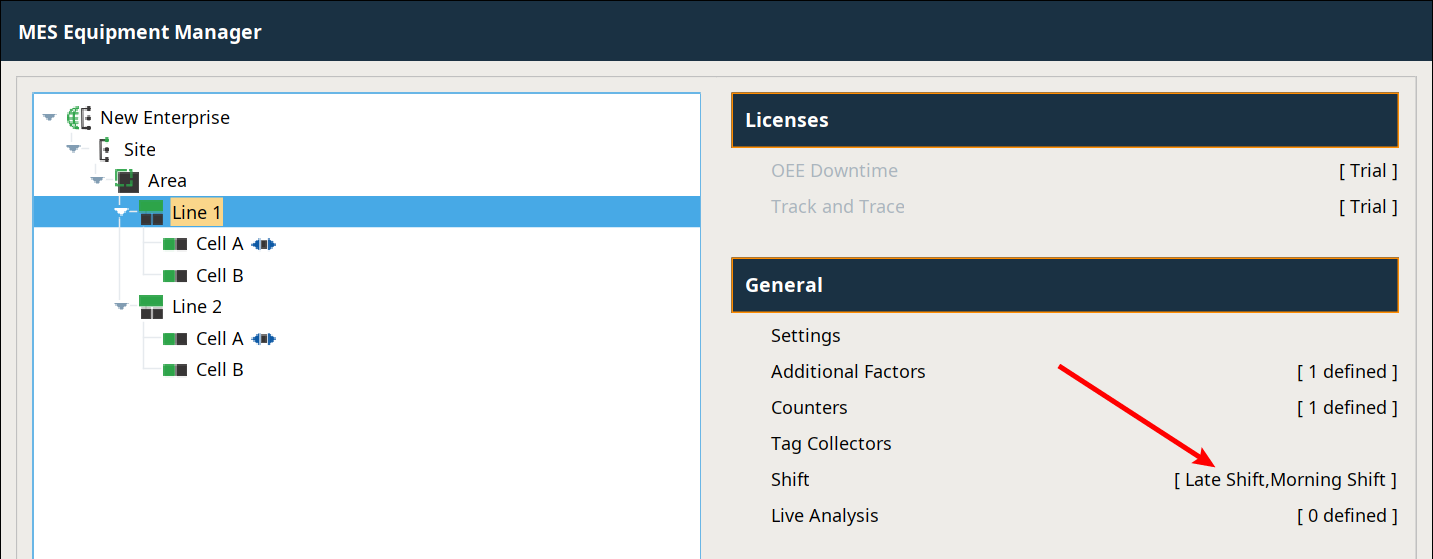
Go back into the MES Equipment Manager:
- Add shifts to the two Lines:
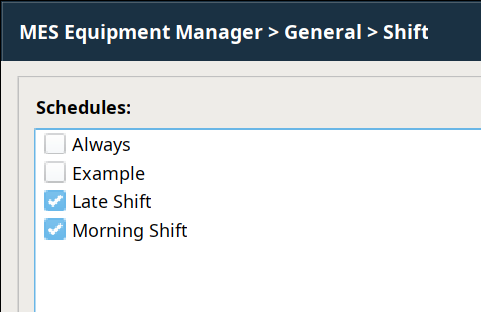
- Select Line 1 and click Shift.
- Select one or more of your new shifts and click Save.
- Repeat for Line 2 (same or different shift choices).
Recognize that equipment status (local - Equipment State; logistical - Equipment Mode) is important for carrying out downtime analysis and rendering valuable insight to continuous improvement efforts. By tailoring the state and mode values to your equipment, you will be able to quickly provide relevant data to stakeholders.
Materials and their configurations hold relevant data. By being able to quickly and easily create new materials, and associate them with appropriate equipment, we can capture the production operations in terms of product. This assists in error-proofing at run-time and delivering relevant data in analysis.